


How to use flash at a wedding reception
When I was first starting out, learning how to use a flash at a wedding reception was terrifying to me. I think it was mostly because I was so unfamiliar with flash that I relied on YouTube to learn. There are SO many different ways that you can use flash so after many videos I became more confused.
I took an in-person course from Apple Head Studios and flew to Calgary to take another one from Two Mann Studios. These two courses then set me up for success. I should add, I would consider myself a light and airy photographer who mostly uses natural light, however, during a wedding reception, I aim for more of a moody and dramatic effect. It requires less equipment and I just love the way the images turn out.

1. Equipment Required
Transmitter + Receiver – I use the brand Yongnuo which I purchased from Amazon. You need to have two of them. One placed on the top of your camera and one attached to your off-camera flash.
It’s crucial to have each one set on the same channel so that when you press your shutter button on your camera, it will trigger your flash to go off.
Flash – For my flashes, again, I use the brand Yongnuo. I have also used Canon but the Yongnuo works flawlessly and is a fraction of the cost.
Grid – I use the brand MagMod. They have many products to help with off-camera flash. The grid works to focus the light coming out of your flash at whatever it is you’re pointing it at.
Diffuser – The last thing that I use (also a MagMod product) on my flash is a silicone diffuser that I have nicknamed “The Boob”. Once you see it, you will understand why! I place the diffuser over the grid to help soften the light coming out of my flash so that the shadows are less harsh on the faces of my subjects.
** Here is a starter kit from MagMod **
Tripod w/ hot-shoe adapter – If you don’t have an assistant that will be helping you hold your off-camera flash, the best way to get epic images is to use a tripod. Keep in mind that a typical tripod won’t come with the adapter you need to place your trigger and flash onto it so you will want to ensure you purchase a hot-shoe adapter.


2. Where to place your flash
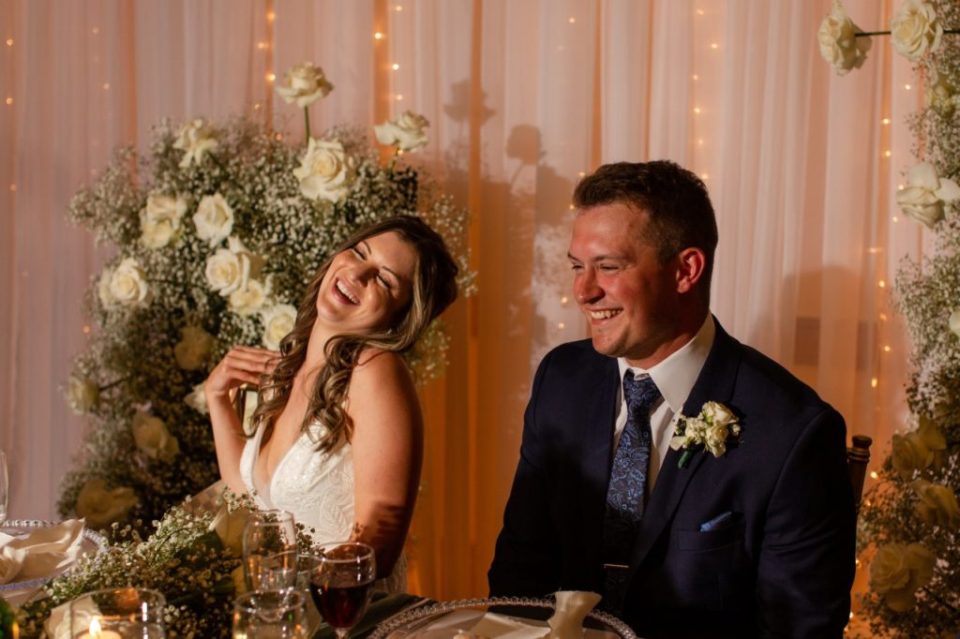
This is where all of the fun happens! You will want to play around with the location of your flash to get a feel for your flash “style” and how you want it to look. For me, I have my assistant hold the flash in front of my subjects and then I am typically off to the side. This gives me heavy shadows which is the look I’m going for as a more dramatic shot.
When I am photographing the first dance, I like to have my assistant behind my subjects creating a rim light around them and then I fill in light into their faces using a second flash. If you don’t have a second flash, I would recommend having your flash 30 degrees from where you are shooting the photo.
3. Settings
Although I am not going to go into great detail with this because it could be a 3-day course on it’s own, you want to expose for your highlights. If your not sure what I mean by this, I mean that you want to set your camera so that it perfectly exposes the brightest area of your image.
Once you do that, play around with how much flash you need to get the look your going for.
Ok, nowwwwww go practice!!!
Leave comments if you have questions or email me.
Keep Snappin’,
Nicole xoxo
Leave a Reply
Download the Guide!
I've created a cheat sheet to help guide you through the decision process of choosing your camera settings for the appropriate lighting situation!

Be the first to comment